Notebook
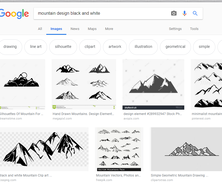
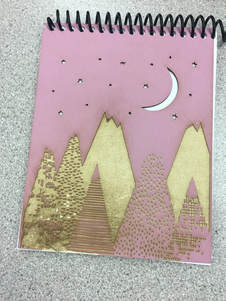
For my notebook I had mountains as my design. In the mountains were little designs I found this picture on the internet after knowing what I was looking for. I cut out the stars at the top but I wanted to cut out more at the bottom. I decided not to do that because I thought it would be a little to intricate for the laser.
Prework
For my notebook I was trying to fine a cool pattern or design. I saw a design of mountains and decided that I wanted to do a design of mountains because I think that they are so pretty. So then I looked for mountain clip art and that is when I found the design that I used.
Completion
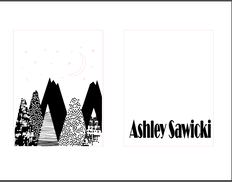
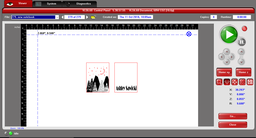
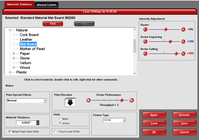
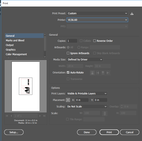
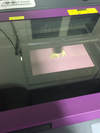
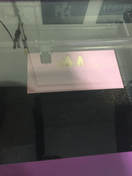
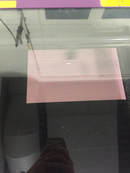
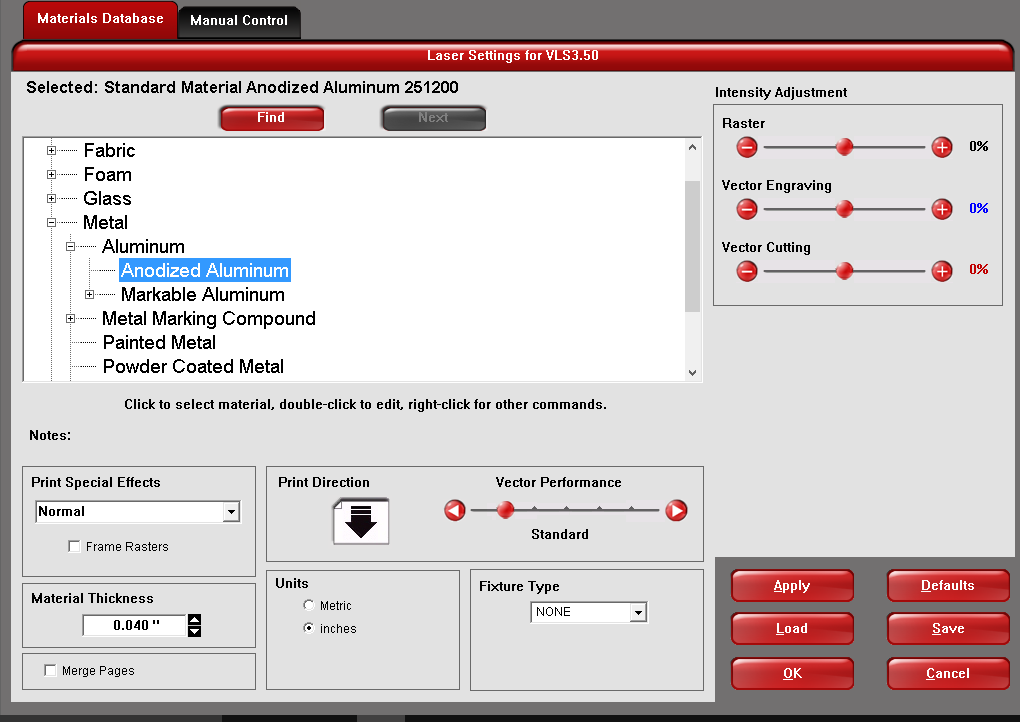
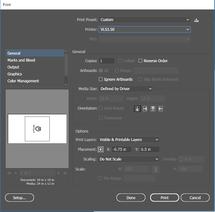
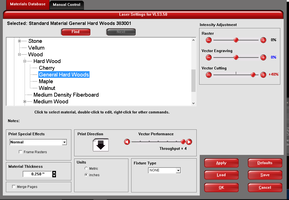
Once I found the design that I wanted to put on my notebook I created the illustrator file and inserted the picture into it. I needed to cut something out so I had to change the stars at the top to the color red. Then I created the back for my notebook I decided to go simple and just engrave my name on the back of the notebook. Next, it was time to take it down to the laser. As for all things printed using the laser I changed the settings I had to change the material and the thickness of the material. Once my notebook was done with the laser I used the whole puncher that created the whole for the notebook. I also had to cut out paper and put paper inside of the notebook. To finish it off I put in the binding and I was done.
Photos
|
File of notebook Laser setup Printing Final notebook with bindings |
|
Water Bottle
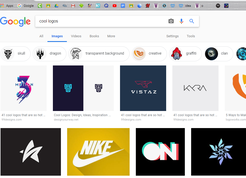
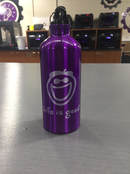
On my water bottle I did the life is good logo. I went with this logo because it just gives out a happy vibe. I aso felt like the design was simpilistic and would easily look good on a water bottle.
Prework
For the water bottle it was mainly about finding a design that I wanted on my water bottle. I was going between a few logos at first but then finally settled on the logo that says "life is good". After this I had to measure the diameter of the water bottle so I would be able to find the wrap which is how wide the image could be.
Completion
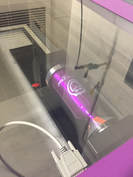
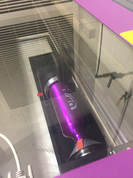
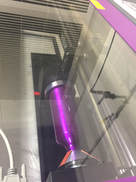
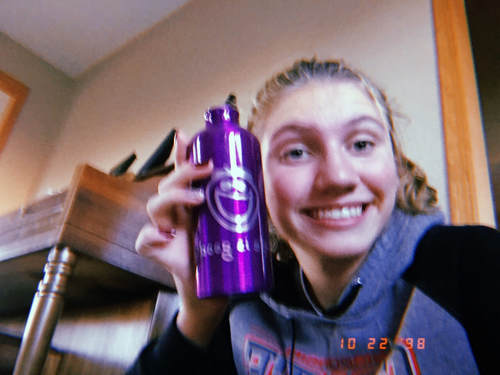
After finding the image that I would be using and finding the wrap of the water bottle, I had to scale the image to the size I needed it to be. After completing my design it was time to take it down to the laser. At the laser I had to insert the rotaional jig so that my design would wrap around the water bottle. I then had to change the print settings so that it would laser it correctly. Then I printed it and I took out my water bottle and it was done.
Photos
|
File for water bottle Laser Setup Printing Final project |
|
Thingiverse project
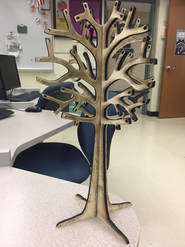
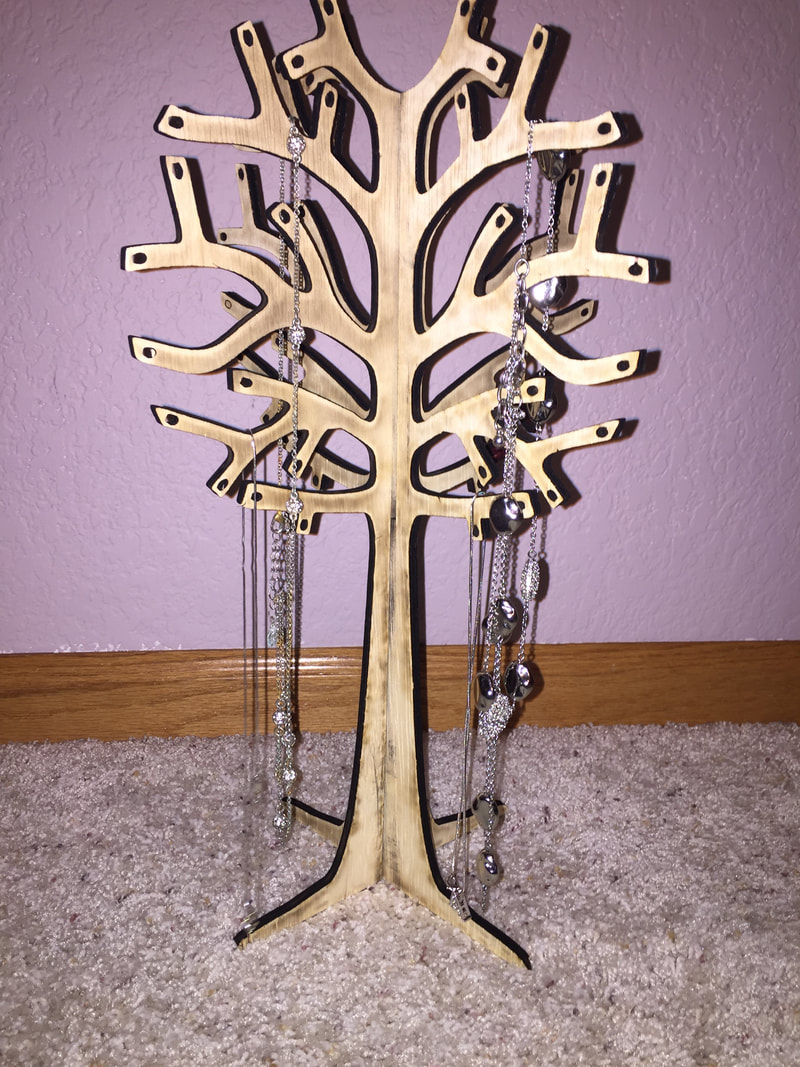
For my Thingiverse project I ended up going with a necklace tree. I spent a long time looking for a design or a project that I really wanted to make. I found many things that I wouldn't have minded making. I went with the necklace tree because once I was done making it I could actually use it.
Prework
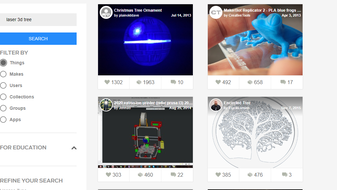
For this project I didn't really need any background information, I just needed to find a design. I went to Thingiverse and started researching designs that could be printed using the laser. After researching a lot and looking at a lot of designs, I finally found the Necklace tree that I ended up making.
Completion
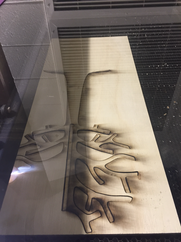
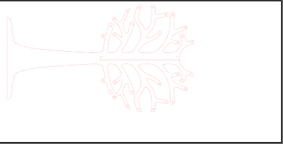
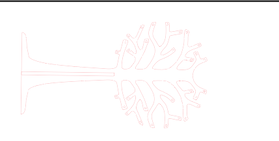
After finding the tree on Thingiverse I transferred the file and put it on illustrator. After that I had to change the file so half of it would be on each print so it would fit in the laser. Lastly it was time to take it down to the laser and actually print it.
Photos
|
File of tree Laser setup Printing Final Project |
|
Conclusion
In conclusion, during this laser rotation I learned how to actually apply real life uses to the laser. Such as if I needed to make something 3D I could use the laser. Also during this rotation I learned how to use the rotational jig in the laser and engrave a laser. I think that it is really cool that you can make pretty much anything using a laser.
