Widgets

|
To make our widgets we will be using the site inventor. Inventor is a technology were we can create 3D structures and then print them. In inventor you can set up a single 3D part or you could make an assembly and put multiple parts together. You can even animate your assembly in inventor.
|
|
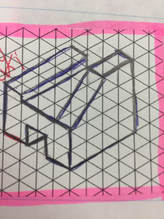
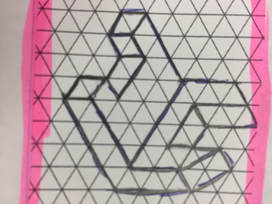
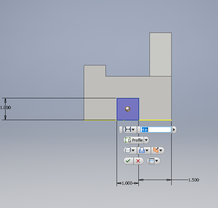
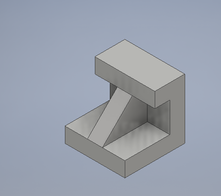
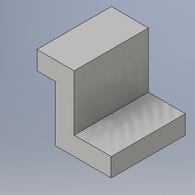
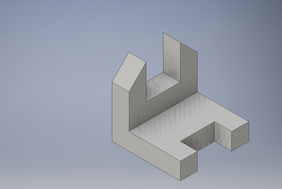
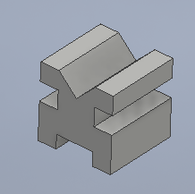
I redrew the sketches of the widgets on a piece of paper to better know
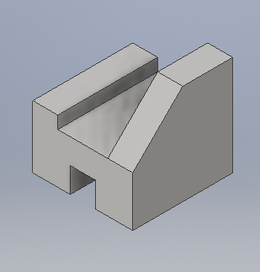
each one. I end up using the widget on the left as my project. I started making widget number 4 by making a 4 inch by 4 inch cube. |
|
|
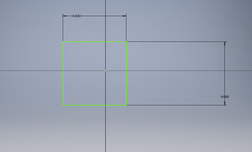
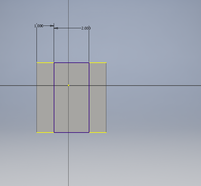
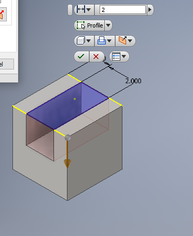
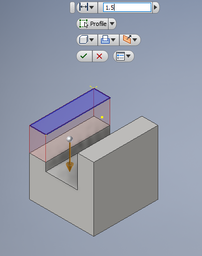
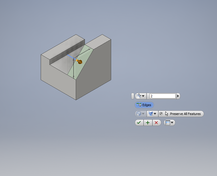
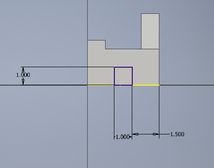
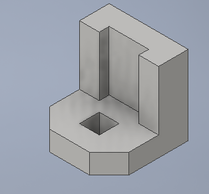
On the top face of the cube I started a new sketch and drew a 2 inch by 4 inch rectangle with a inch on each side. After that I then finished the sketch and extruded the rectangle 2 inches into the cube. I started another new sketch on the left rectangle and outlined the whole thing and then extruded in 1.5 inches into the cube. I then chamfer the rectangle on the right side of the widget so that it was two inches long. After that I drew a 1 by 1 square on the front face of my widget. Using that square I extruded it all of the way through the widget and that completed my project. |
|
|
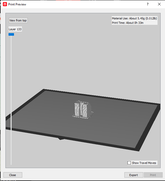
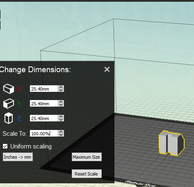
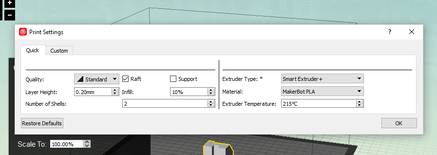
Here is my print preview of my widget and how I set up the print of the widget. I had to change the width of the cube from inches to millimeters and I also had to change some printing settings. |
|
|
|
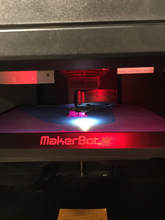
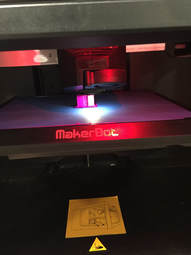
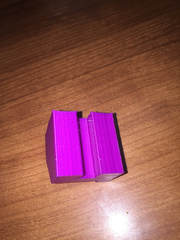
Here are pictures of my widget in the printing process. |
|
|
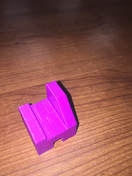
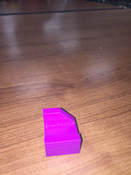
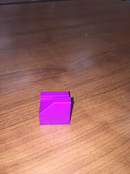
This is my final project after I was done printing. |
|
|
|
|
|
|
|
|
|
Summary
In the end I learned many things throughout the making of the widget. Setting up a part file and being able to design each widget was a review from the Gateway to technology class that I took last year. But what I did learn was how to set up a 3D print in maker bot. Also after setting up I learned how to use the 3D printer. In the end I really liked this intro to Inventor project it was a great project to start with and I thought all of the things we did was super cool.
